Experiments
By the end of this page you have an experiment open, know what it holds and where it lives on disk, and can come back to it in a later session.
Before you start
- You are connected. Everything AutoLamella does happens inside an experiment, and the Overview, Protocol, Lamella and Workflow tabs stay grey until one is open.
What an experiment is
An experiment is one session’s worth of work: usually one grid, or the set of grids loaded together. It is a folder. Inside it are the experiment file, the copy of the protocol the session runs with, the log, and one folder per lamella holding every image and record that lamella produces. Everything the application does is saved there as it happens, so there is no save step, and an experiment can be reopened at any point and continued.
1. Create an experiment
Press Create Experiment at the top right of the window, or choose File → New Experiment.
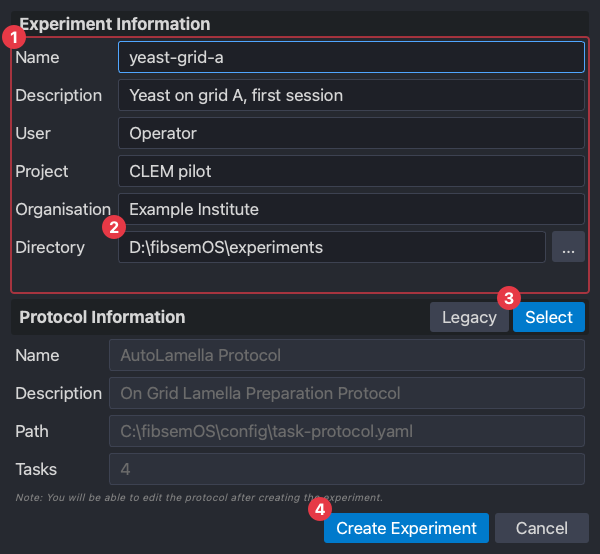
- (1) The name and, optionally, a description, who is running it, the project and the organisation. The name becomes the folder’s name, so keep it to letters, digits and dashes. The rest is recorded with the experiment and appears in reports.
- (2) The folder the experiment is created in. The default is the experiments folder from Guided Setup; the experiment’s own folder goes inside it.
- (3) The protocol. The shipped on-grid protocol is loaded by default, or the one set as default in Guided Setup; Select picks another, and Legacy converts a protocol from an earlier AutoLamella. The fields below show what was picked; the note under them says the rest: the protocol is editable after the experiment exists, on the Protocol tab.
- (4) Create.
2. The window with an experiment open
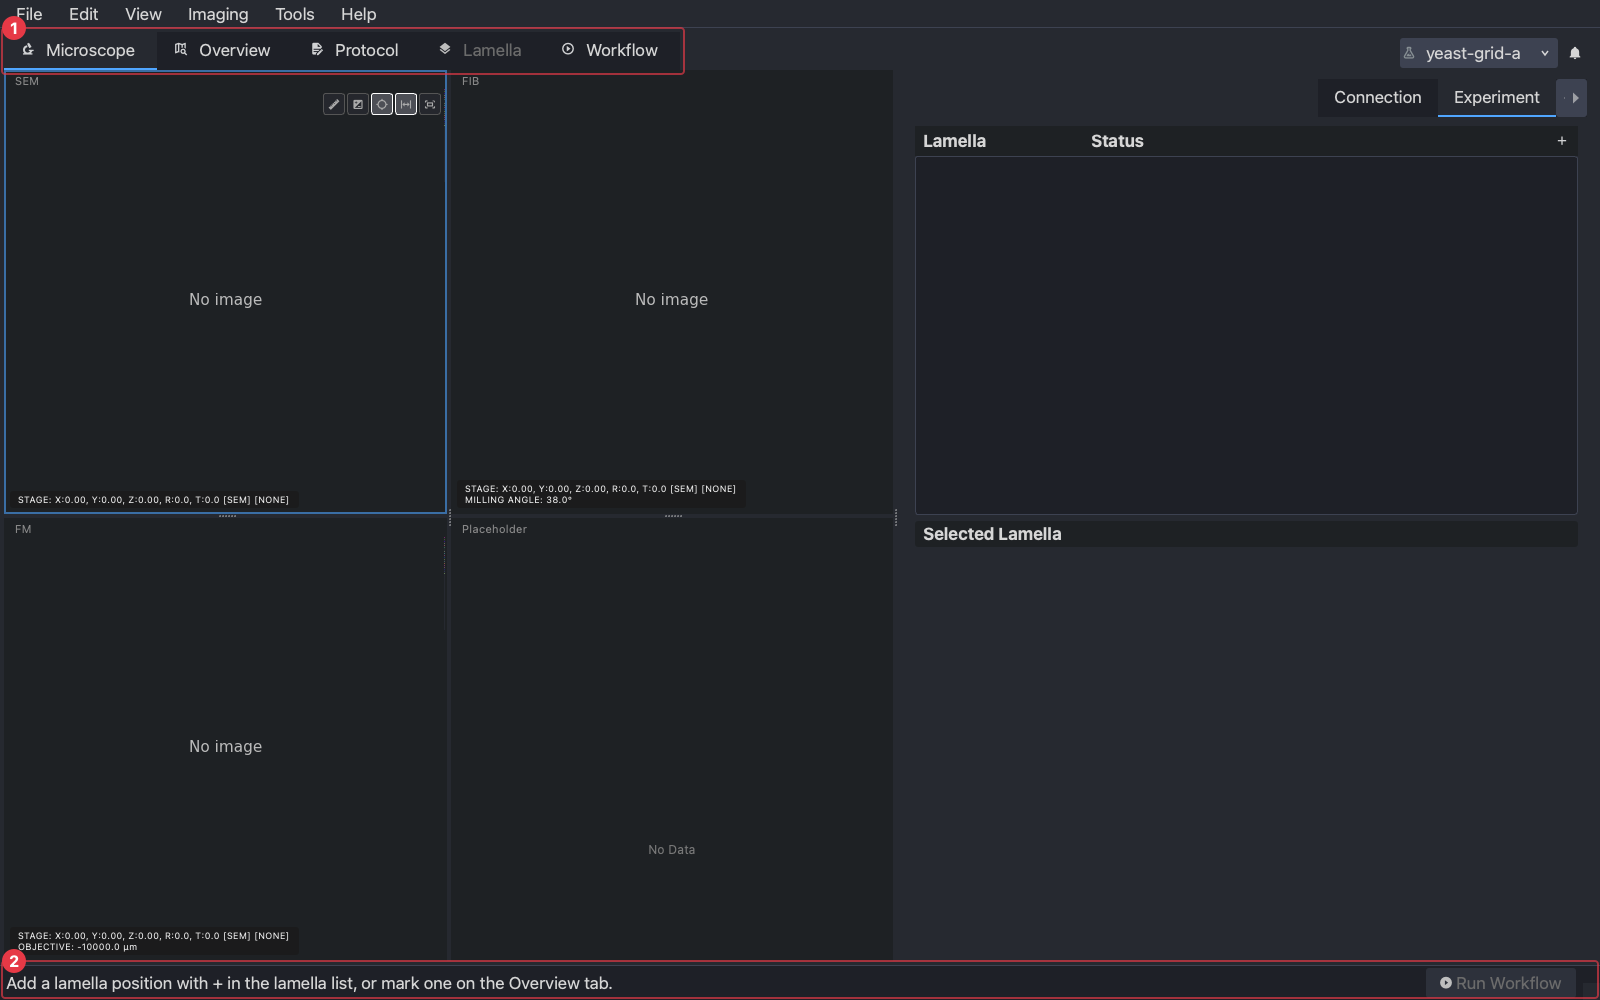
- (1) The Overview, Protocol, Lamella and Workflow tabs are enabled. The experiment’s name is in the top right where the Create and Load buttons were.
- (2) The status line has moved to the next step: add a lamella position.
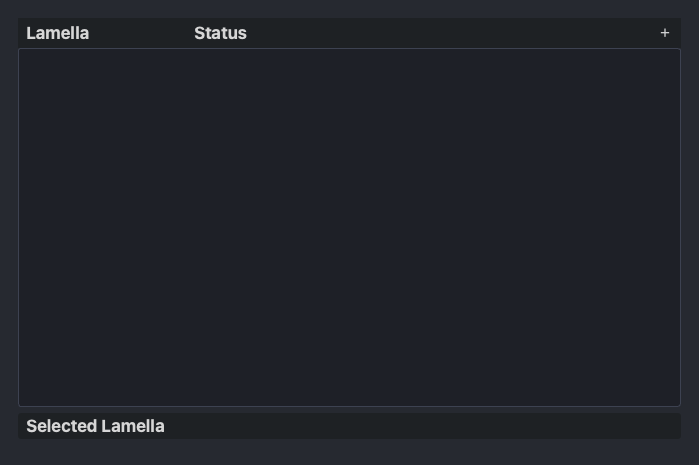
The control panel opens on the Experiment tab: the list of lamellae, empty for now, with + to add one at the current stage position, and the selected lamella’s details below.
3. Come back to an experiment
Load Experiment, or File → Load Experiment, opens a dialog with the recent experiments down one side and a Browse… button for any other. Picking one shows its details and its protocol before you commit. Loading brings back the protocol from the experiment folder, every lamella with its state and history, and points the log at the experiment again.
Loading does not move the stage. The lamellae remember their positions, but the grid has to be the one they were marked on, in the same slot; the Sample holder page is how fibsemOS knows which that is.
Next
Protocols: what the protocol holds, and the Protocol tab where it is edited.